Have you recently purchased a Samsung monitor but experiencing problems such as blue light blinking? You aren’t alone.
Many Samsung monitor users complained about this issue, claiming that they purchased it and it began flashing within a short length of time. So why does Samsung monitor blinking blue light? Here’s why.
How To Fix Samsung Monitor Blinking Blue Light Issue
The blue light on the Samsung screen indicates that the screen is currently in standby mode. The most common reasons for a Samsung monitor to blink blue light include:
- Faulty cable connection
- Insufficient power source
- Old-fashioned hard drive
- Defective capacitors
- Activating the monitor’s safe mode
If you ever deal with something like these issues, you can follow the below troubleshooting steps to get rid of the blinking problem:
- Modify the monitor’s input settings
- Check the display wires
- Customize the resolution of your monitor
- Verify the display cable is linked to the graphic card, not the motherboard
- RAM sticks should be removed, rearranged, and reset
- Perform a CMOS/BIOS reset
Some of these solutions recommend troubleshooting the display directly, whereas others recommend you troubleshoot your personal/office computer.
Troubleshooting Your Samsung Display
Many users have stated that this easy technique worked after trying everything else. So, before you try any other complex process further, turn off your computer’s monitor. After 30-40 seconds, re-connect everything. Turn on the monitor first, and the computer.
If the above step doesn’t work, don’t worry; just dive into the next step.
1. Modify the Monitor’s Input Settings
It’s critical to ensure that your display is set to the right input. To do that, you must first determine the types of cable (input cable) you’re using.
The “Source Button” or “Input Button” will be either in the center or on the right-hand side of the monitor. You’ll find it on the backside or near the bottom of the display.
At first, you need to press the “Menu Button” for some models and select input. Options will display on your computer monitor once you’ve touched the “Input” and or “Menu” buttons. Now, toggle through the input selections until the problem gets solved.
2. Check the Display Wires
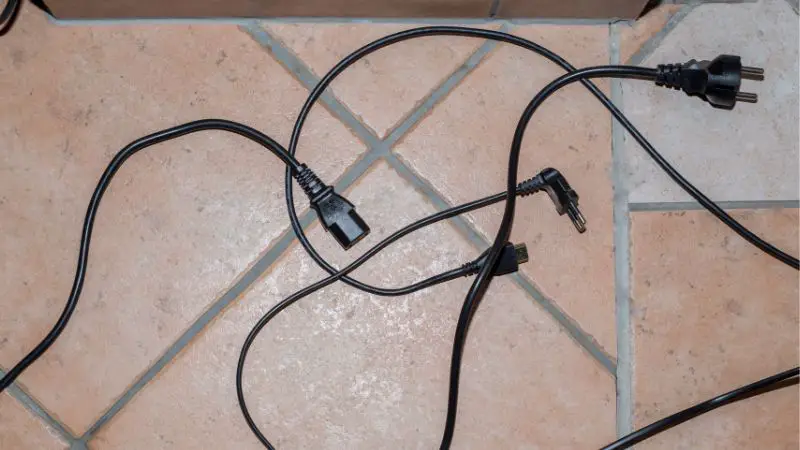
You can now be fairly certain that your display is connected or configured to the correct input. The following step is to double-check your display cable connections.
First, ensure that both endpoints of the connection are solid. A faulty cable is surely one of the most prevalent causes of a ‘No Signal’ error. Even though the link is significantly broken, an error could have occurred.
Next, check for any unwanted problems or obstacles with the cable itself. Examine the area for any evident signs of damage. At the final stage, try to use different input cables than the one you’re now using.
3. Customize the Resolution of Your Monitor
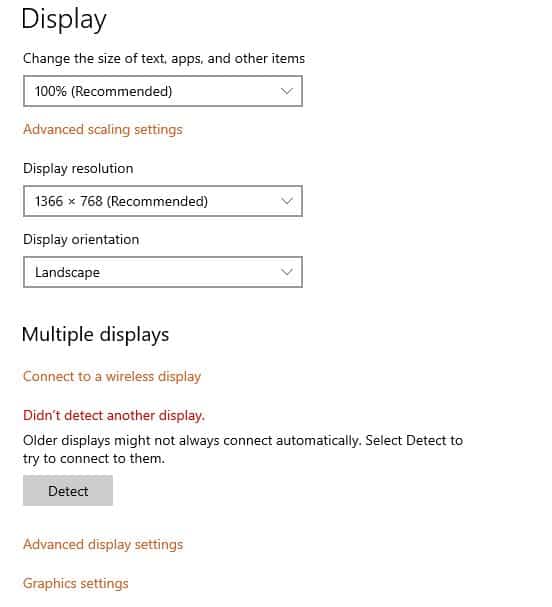
Your monitor may provide your computer with a number of visual resolutions. It’s possible that your computer’s graphic card is now configured to a higher display resolution than your monitor can support.
To resolve this, restart the computer under the “Safe Mode.” When you put your computer into “Safe Mode,” it’ll display at a reduced resolution and consume a lesser display than it would normally. This will allow you to enter the resolution settings on your computer and select a lower traditional display resolution.
If your monitor still blinking blue light, try using it with another device to ensure that your display is defective.
It might be another laptop, desktop, gaming console, notebook, or something else. If your monitor’s display works, it assures that your monitor is in proper working condition and that your pc is faulty.
To continue the next steps, you must know how to open and examine the PC.
However, if you choose to proceed, ensure that you conduct thorough research. To avoid damaging your computer with electrostatic charges, you should at the very least understand how to ground yourself properly.
4. Verify the Display Cable is Linked to the Graphic Card, Not the Motherboard
Most desktop pcs come with a built-in graphics card. If this is your situation, check that the cable connecting your monitor is actually connected to the main graphics card and not the PC’s motherboard. It isn’t usually extremely straightforward, but if you’re working on a desktop computer, it might be as simple as that.
5. Remove and rearrange the RAM Sticks
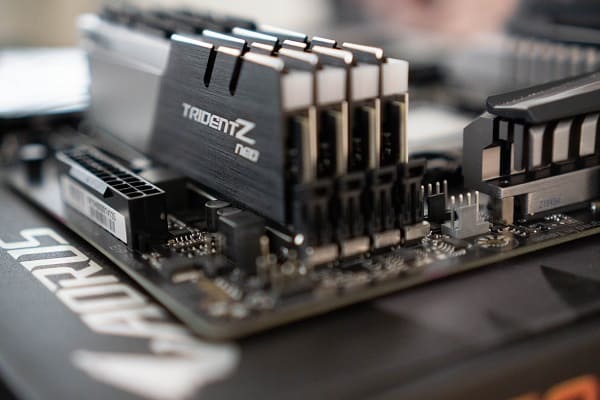
There’s also the strong possibility that the RAM sticks in your computer aren’t properly connected. To solve this issue, make sure that your computer is turned off. Then check the power cord, and disconnect it from the main power source.
After that, ensure that you’re correctly grounded, open your computer case, and carefully remove each of your RAM sticks. Finally, reorganize the sticks and replace them in their RAM chairs.
6. Perform a CMOS/BIOS Reset
The acronym CMOS refers to the Complementary Metal Oxide Semiconductor.
The CMOS battery in your laptop or desktop supplies the power needed to run the BIOS firmware. Your computer’s “Basic Input/Output System,” abbreviated as “BIOS,” is responsible for managing its fundamental operations.
Resetting the BIOS returns it to its previous state and can frequently address various problems. Check that your computer is getting into the turned-off mode, the power cord is surely unplugged, and you’re appropriately grounded.
After that, take the CMOS battery off of the motherboard. Hold down the power button to discharge any remaining energy. After approximately one minute has passed, you should replace the CMOS battery in your computer.
Finally, the step you will take is, to restart your pc/computer and check that your display is operational.
FAQs

- Why won’t Samsung monitor turn on when trying to use it?
If your Samsung screen isn’t powering on, there are a few possible causes. A loose connection between the monitor as well as the power outlet, a faulty power outlet, an activated automatic power-off feature, etc., are only a few of the most common causes in this situation.
- What causes Samsung monitor to lose its display repeatedly?
There are various reasons why your Samsung display can continually go dark. For example, the monitor going to sleep, the monitor waking up when it receives an input, or the monitor turning off completely.
- What’s needed to do to get the Samsung display monitor to function?
Before anything else, make sure the screen has electricity. Then, plug the power cord into the wall and the backside of the display. Next, connect one cable end to a video output such as a Display Port, or analog video output. Once you’ve done that, you may connect the cable to the screen and use it as normal.
- Why does the Samsung monitor keep turning on and turning off by itself?
The monitor is likely malfunctioning, which causes the on-and-off flashing. However, unsecured data cable connections or a faulty power supply could occasionally cause the monitor to flicker or turn off unexpectedly.
- How troubleshoot a problem with a monitor which won’t power?
You’ll need to verify your monitor carefully to resolve this issue. Checking to observe if the switch gets turned on and looking at the outlet are two more potential solutions to the problem. Then, check the plug, the power or electrical connections, and the screen’s brightness.
Final Words
Turning off both the monitor and the computer and then unplugging them is the first and foremost solution to fix the issues of the Samsung monitor blinking blue light. After a countdown of 30 seconds, you should start by turning on your monitor, then go on to your computer.
If the problem continues to exist, check that the appropriate input and display resolution settings have been selected and that all cables are properly secured and free of damage.

Hello Good People! This is Pavel and Welcome to PC Delight!
I’m an Electronics Engineer by profession with a passion for Gaming & PC builds. When I came up with the idea for PC Delight, it was my goal to share & offer the very best PC building ideas to tech-loving people like myself.
Since my school days, I’ve been just addicted to gaming & PCs. That leads me to experiment with various ways around the very niche, resulting in great productivity. And I’m here to share those practical experiences. So that next time you start some experiment with your PC builds or struggle to cope with a certain game, I’m here with the solutions. With these philosophies, I started my journey in 2017 and just kept going.