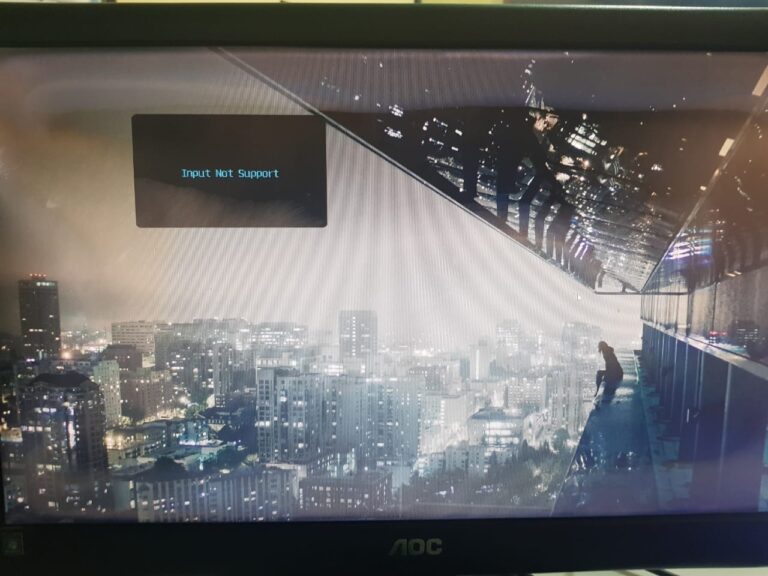
“Input Not Supported” on a monitor indicates a resolution or refresh rate issue. Adjust display settings to fix it.
Seeing “Input Not Supported” on your monitor can be frustrating. This error typically arises when the resolution or refresh rate is incompatible with your monitor’s capabilities. To resolve this issue, you need to adjust the display settings either from your computer’s operating system or the monitor’s menu.
Ensuring compatibility between your graphics card and monitor settings is crucial for optimal performance. Check your device’s manual or manufacturer’s website for recommended settings. Keeping your drivers updated can also prevent such issues. This simple adjustment can save you from unnecessary downtime and improve your overall computing experience.
Credit: m.youtube.com
Common Causes
When your monitor displays an “Input Not Supported” error, it can be frustrating. Understanding the common causes helps you fix this issue quickly. Below are two primary reasons: incorrect resolution and faulty cables.
Incorrect Resolution
One of the most frequent causes is an incorrect resolution setting. Your monitor may not support the resolution your computer is trying to use. To fix this:
- Boot your computer in Safe Mode.
- Go to Display Settings.
- Select a supported resolution.
Supported resolutions vary by monitor. Always check your monitor’s manual or manufacturer’s website.
Faulty Cables
Another common issue involves faulty cables. A damaged or loose cable can cause connection problems. Here’s how to troubleshoot:
- Check both ends of the monitor cable.
- Ensure the cable is securely connected.
- Inspect the cable for visible damage.
If you see damage, replace the cable. Use a high-quality cable to avoid future issues.
Basic Troubleshooting
Facing an Input Not Supported message on your monitor can be frustrating. Luckily, there are simple steps to fix it. Start with these basic troubleshooting methods to resolve the issue quickly.
Restart The Computer
One of the first steps is to restart your computer. This can often resolve minor glitches and refresh system settings.
- Click on the Start menu.
- Select Restart.
- Wait for your computer to reboot.
After restarting, check if the Input Not Supported message still appears. If it does, proceed to the next step.
Check Connections
Ensure all cables are securely connected between your computer and monitor. A loose cable can cause display issues.
| Connection Type | Checkpoints |
|---|---|
| HDMI |
|
| VGA |
|
| DVI |
|
Once all connections are secure, turn on your monitor. The Input Not Supported message should be gone.
If the issue persists, there may be a problem with your display settings or hardware. Further steps will be needed to diagnose the issue.
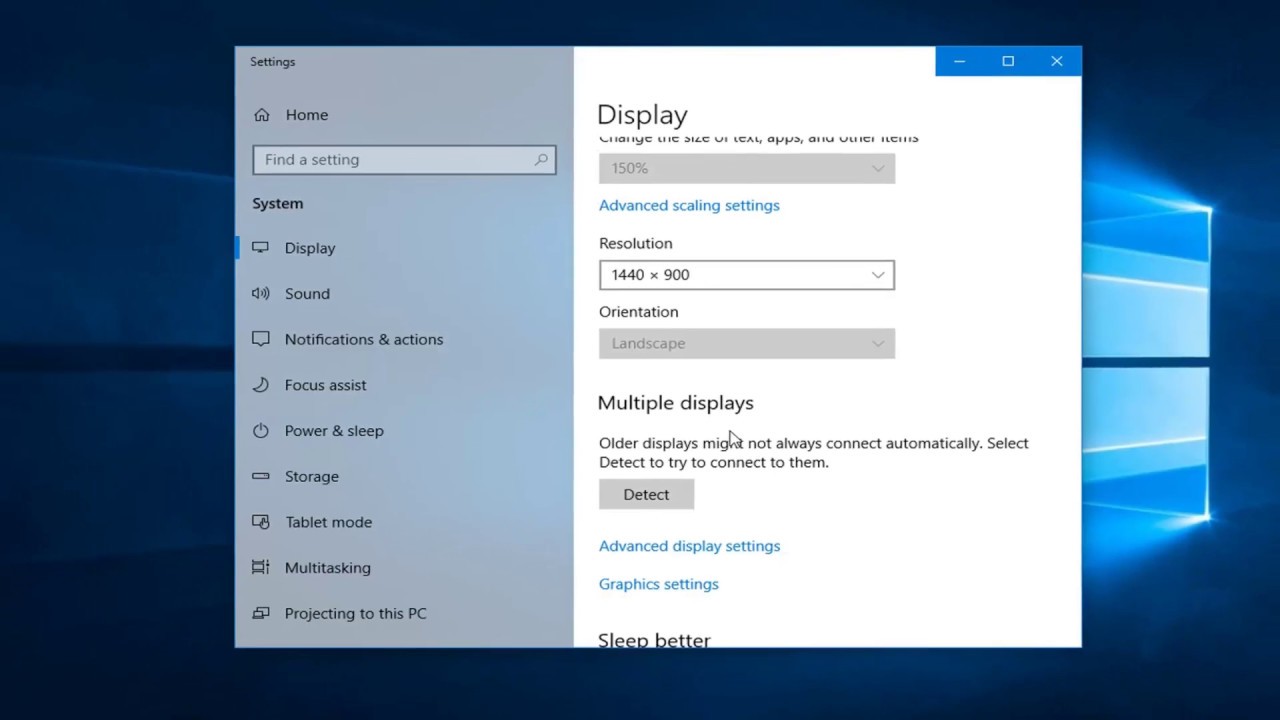
Adjusting Display Settings
Experiencing the Input Not Supported error on your monitor can be frustrating. This issue often arises due to incorrect display settings. Adjusting these settings can resolve the problem. Below, we will guide you through the necessary steps.
Accessing Safe Mode
To access Safe Mode, restart your computer. Press the F8 key repeatedly before Windows boots. This will bring up the Advanced Boot Options menu. Use the arrow keys to select Safe Mode and press Enter.
| Step | Action |
|---|---|
| 1 | Restart your computer |
| 2 | Press the F8 key repeatedly |
| 3 | Select Safe Mode from the menu |
Changing Resolution
Once in Safe Mode, right-click on the desktop. Choose Display Settings from the context menu. Go to the Resolution drop-down menu. Select a lower resolution that your monitor supports. Click Apply to save changes.
- Right-click on the desktop
- Choose Display Settings
- Go to the Resolution drop-down menu
- Select a lower resolution
- Click Apply
After adjusting the display settings, restart your computer normally. Your monitor should now display correctly without the Input Not Supported error.
Updating Drivers
Seeing “Input Not Supported” on your monitor can be frustrating. Updating drivers can fix this issue. Below, we will discuss updating both graphics and monitor drivers.
Graphics Drivers
Graphics drivers are crucial for your display. They ensure your graphics card works well. Follow these steps to update graphics drivers:
- Press Win + X and select Device Manager.
- Expand the Display adapters section.
- Right-click your graphics card and select Update driver.
- Choose Search automatically for updated driver software.
If this doesn’t work, visit your graphics card manufacturer’s website. Download the latest driver and install it manually.
Monitor Drivers
Updating monitor drivers can also help. These drivers ensure your monitor communicates well with your computer. Follow these steps:
- Press Win + X and select Device Manager.
- Expand the Monitors section.
- Right-click your monitor and select Update driver.
- Choose Search automatically for updated driver software.
If needed, visit your monitor manufacturer’s website. Download and install the latest driver.
These steps should help fix the “Input Not Supported” error. Keep your drivers up to date for the best performance.
Testing With Another Monitor
Experiencing the “Input Not Supported” message on your monitor can be frustrating. A simple solution is to test your setup with another monitor. This process helps you identify if the problem lies with the monitor or the computer.
Connecting A Different Monitor
Start by connecting a different monitor to your computer. Follow these steps:
- Turn off your computer and the current monitor.
- Disconnect the current monitor from the computer.
- Connect the new monitor using the same cable.
- Turn on the new monitor and then the computer.
Ensure the cable is securely connected. This step is crucial for accurate testing.
Analyzing Results
After connecting the new monitor, observe the display. Here are possible scenarios:
- New monitor works: The issue is likely with the old monitor.
- New monitor shows the same message: The problem is with the computer or cable.
Testing with another monitor can save time. It helps pinpoint the issue quickly.
Resetting Monitor Settings
Encountering “Input Not Supported” on your monitor can be frustrating. Resetting your monitor settings can often resolve this issue. This process involves a few simple steps. Let’s explore how to reset your monitor settings effectively.
Factory Reset
A factory reset returns your monitor to its original settings. This can fix various display issues.
- First, locate the monitor’s menu button.
- Press it to access the menu options.
- Navigate to the Settings or System menu.
- Select Factory Reset or Reset to Default.
- Confirm the reset and wait for the process to complete.
After the reset, your monitor should display the default settings. This step often resolves the “Input Not Supported” error.
Accessing Monitor Menu
To perform a reset, you need to access the monitor menu. This menu provides various options for managing settings.
- Find the physical buttons on your monitor.
- Press the menu button to open the on-screen display (OSD).
- Use the navigation buttons to explore different menu options.
- Look for the Settings or System section.
Each monitor brand might have different menu layouts. Refer to your monitor’s manual if necessary. Navigating the menu is straightforward once you get the hang of it.
Resetting your monitor settings can solve display issues like “Input Not Supported”. Follow these steps for a hassle-free experience.
Checking Hardware Issues
Experiencing an “Input Not Supported” message on your monitor can be frustrating. Often, the problem is related to hardware issues. Let’s dive into the essential steps to diagnose and fix these issues.
Inspecting Cables
First, check the monitor cables. Ensure they are firmly connected to both the monitor and the computer. Loose cables can disrupt the signal. Look for any visible damage on the cables. Damaged cables need to be replaced.
| Type of Cable | Common Issues | Solution |
|---|---|---|
| HDMI | Loose connection, bent pins | Reconnect, replace if damaged |
| VGA | Broken pins, frayed wires | Check and replace |
| DisplayPort | Loose connection, faulty cable | Secure connection, replace if faulty |
Examining Ports
Next, inspect the ports on both the monitor and the computer. Dust and debris can accumulate in the ports. Use a can of compressed air to clean them. Check for any bent pins or visible damage. Damaged ports might need professional repair.
- HDMI Port: Look for bent pins.
- VGA Port: Ensure all pins are straight.
- DisplayPort: Check for obstructions.
By addressing these hardware issues, you can often resolve the “Input Not Supported” message. Taking the time to inspect cables and ports can save you from further headaches.
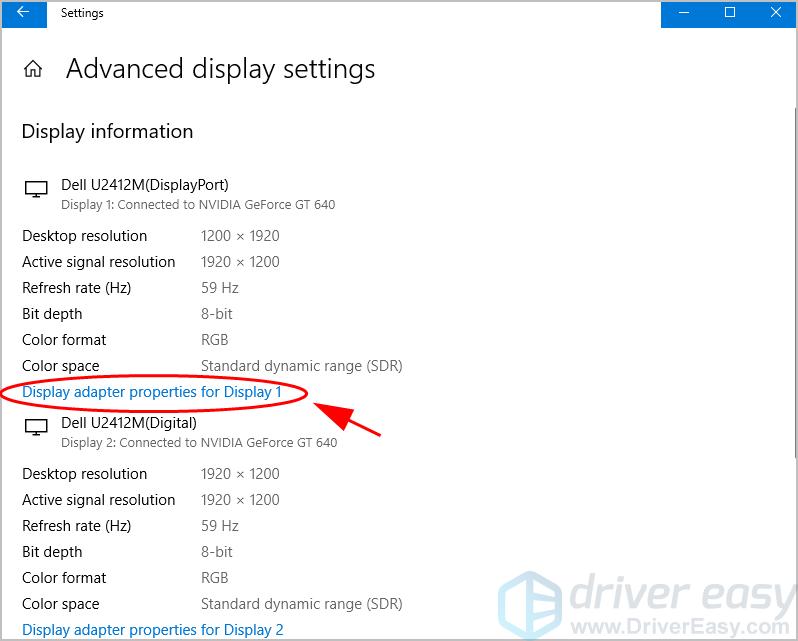
Credit: www.drivereasy.com
Using External Adapters
Sometimes, you see the message Input Not Supported on your monitor. This happens when the display signal is not compatible. External adapters can solve this issue. They convert signals from one type to another. Let’s explore two common adapters.
Hdmi To Vga
HDMI to VGA adapters are popular. They connect modern devices with HDMI ports to older VGA monitors. Here is how you can use them:
- Plug the HDMI end into your device.
- Connect the VGA end to your monitor.
- Power on both your device and the monitor.
Ensure your adapter supports active conversion. Active adapters have extra hardware for signal conversion. They provide better results than passive ones.
Displayport To Hdmi
DisplayPort to HDMI adapters are useful for connecting DisplayPort devices to HDMI monitors. Follow these steps to use them:
- Insert the DisplayPort end into your device.
- Attach the HDMI end to your monitor.
- Turn on your device and monitor.
These adapters are typically plug-and-play. They do not need extra software. Choose adapters that support high resolutions for the best display quality.
Contacting Support
Experiencing the dreaded “Input Not Supported” message on your monitor can be frustrating. Contacting support often becomes essential. This section will guide you through the best ways to seek help and resolve the issue.
Manufacturer Support
First, reach out to the manufacturer’s support team. They have the most knowledge about your monitor. Most brands offer multiple ways to contact them:
- Phone Support: Speak directly to a technician.
- Email Support: Send a detailed description of your issue.
- Live Chat: Quick and easy for instant help.
Before contacting, have your monitor’s model number and serial number ready. This information helps the support team assist you faster. Most manufacturers also offer a FAQ section on their websites. Check this first for common solutions.
Professional Repair
If manufacturer support doesn’t solve your problem, consider a professional repair service. These experts can diagnose and fix hardware issues. Here’s what to look for:
- Certified Technicians: Ensure they have the right certifications.
- Customer Reviews: Read reviews to gauge service quality.
- Warranty: Check if they offer any guarantees on their work.
Professional repair services might cost more, but they offer thorough solutions. Always ask for a quote before proceeding with repairs.
By following these steps, you can efficiently tackle the “Input Not Supported” issue and get back to using your monitor without hassle.
Credit: www.reddit.com
Preventive Measures
To avoid the annoying “Input Not Supported” error on your monitor, you can follow a few simple steps. These preventive measures will help keep your monitor running smoothly and efficiently.
Regular Updates
Keeping your system updated is crucial. Regular updates ensure compatibility with the latest hardware and software. Follow these tips for regular updates:
- Update your graphics drivers frequently to the latest version.
- Enable automatic updates on your operating system.
- Check for firmware updates for your monitor.
Proper Cable Management
Proper cable management can prevent connection issues. Use these tips for managing your cables:
- Use high-quality cables to avoid signal loss.
- Organize cables to reduce clutter behind your desk.
- Regularly check for loose or damaged cables.
Here is a quick table for a better understanding of cable types and their uses:
| Cable Type | Use |
|---|---|
| HDMI | High-definition video and audio |
| DisplayPort | High-resolution video and audio |
| VGA | Analog video signal |
| DVI | Digital video signal |
Frequently Asked Questions
What Does Input Not Supported Mean On My Monitor?
“Input not supported” means the monitor cannot display the current resolution or refresh rate. Adjust settings to match the monitor’s specifications.
How Do I Fix My Monitor Not Detecting Input?
Check cable connections. Restart your monitor and computer. Update graphics drivers. Try a different port or cable. Reset monitor settings.
Why Does My Monitor Say Input Not Supported For My Xbox?
Your monitor says “input not supported” because the Xbox resolution isn’t compatible. Adjust the Xbox display settings.
Conclusion
Experiencing “Input Not Supported” on your monitor can be frustrating. Follow our troubleshooting tips to resolve it quickly. Ensure compatibility between your monitor and graphics card. Adjust resolution settings to match your monitor’s specifications. With these steps, you can enjoy a seamless viewing experience.
Stay informed for more tech tips and solutions.

Hello Good People! This is Pavel and Welcome to PC Delight!
I’m an Electronics Engineer by profession with a passion for Gaming & PC builds. When I came up with the idea for PC Delight, it was my goal to share & offer the very best PC building ideas to tech-loving people like myself.
Since my school days, I’ve been just addicted to gaming & PCs. That leads me to experiment with various ways around the very niche, resulting in great productivity. And I’m here to share those practical experiences. So that next time you start some experiment with your PC builds or struggle to cope with a certain game, I’m here with the solutions. With these philosophies, I started my journey in 2017 and just kept going.