
“Check video cable” means the monitor isn’t detecting a signal on the input it’s set to. The cable is the first thing to check, but it’s not the only possible cause.
Below I go through the fixes in order, from reseating the cable to checking your PC’s display output.
Why does It happen?
One of the most common reasons we see a prompt to check our video cables is because our computers lose the video signal.
This can happen because they have fallen asleep after prolonged periods of inactivity or get switched off. However, if these are not the reasons, it is probably one of the following.
Cable Problems
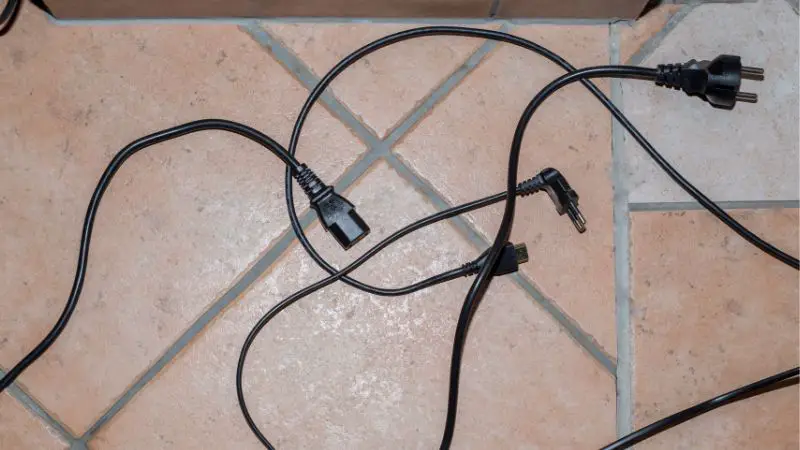
The cable that runs from the computer to the monitor to connect them together could be the root of the problem here. Unfortunately, many people face trouble with their cables, and in most cases, because the wires are not connected properly.
Loose cables mean the data is not passing through clearly, which results in the connection being disrupted. Hence, we see the prompt.
Faulty Video Card

While the cable seems the most obvious answer when looking for the problem, in some cases, it is not. For example, we see the message with a loose thread because the data cannot pass properly, not because the cable is flexible.
Similarly, another reason the data might not pass is a faulty video card in the computer. This will also result in the same message as the video signal has not been transferred.
How To Fix The “Check Video Cable” Error on Monitor
Enough about what causes the problem; what we are really here to find out is a solution to this persistent problem. And the way to do that is to find the issue’s core so we can switch the particular component until the message goes away.
1. Restart the PC
The master of all solutions. Jokes aside, this is actually one of the easiest and most common solutions to most issues related to a computer. So alas, it is a solution for this problem too.
Sometimes, the connection problems are temporary, and nothing serious, and something as simple as restarting the computer can solve it. So press down on that power button until the screen turns black, then turn it back on. Then, hopefully, the problem will be solved.
2. Try Disconnecting Every Device Connected to Your PC
Another quick way to assess the root of the problem is by disconnecting every device and connection in front of you.
We start this by shutting the computer off again first, then removing all the cables and devices. Once removed, restart the computer again.
If the message disappears, there was a problem with one of the connections we just removed. To check which exact device it was, we need to connect them one by one at a time; the faulty one will eventually surface.
3. Do A BIOS Reset
Incorrect BIOS settings can also be the cause of the problem. However, checking whether this is the cause of the problem or not is a little more complicated than the ways we have just seen above.
If you are not used to working with computer hardware, then you may ask a professional technician for help. However, it will be a simple step if you have experience working inside the PC.
Start by turning the PC off and then disconnecting the AC power cord. After the power is gone, open the CPU casing and remove the CMOS battery using any non-conductive tool. You may also use your nails!
Wait for around 5 minutes before putting it back into its place, reconnect the AC power cord, and turn the computer back on. The prompt on the screen should disappear now.
4. Try Using A Different Monitor
A simple way to find out if the problem is with the monitor or the cable is to switch them. This is when spare monitors really come in handy. If you do not have one at home, you could try borrowing one for testing.
You may use the “Check Video Cable Monitor” message with the new monitor. If you do, the problem lies with the PC’s original display. If you do not see the message, the problem is in the signal line instead.
5. Switching to A Different Computer Might Help
Alternatively, we can also do the test by switching to the PC instead. Either use an older one or borrow one for testing it out.
Like the last test, we will replace the PC and check to see if the problem persists. Note that you do not need to connect any other component for this test. Just the PC will suffice.
After connecting to a different PC, if the message still appears, the root of the problem would be either the PC’s video card or the signal line.
6. Change Signal Cord if Needed
The computer’s signal cord has to be correctly connected for the data to pass. Now we will check to see if this is where the problem is and how we can fix it.
Firmly connect the signal cord between the PC and the monitor while ensuring both devices are firmly attached to their sockets. Then, try pulling the cable toward the device.
If it does not move, then we are all good to go. But if it does, we have a loose connection, which needs to be tighter.
If you have a firm connection but still see the message, you need to replace the cord, which is causing all your problems.
Final Words
Reseat and swap the cable, select the right input and make sure the PC is sending video to that port.
If the message stays with a known-good cable and device, the monitor’s port may be faulty.

Hello Good People! This is Pavel and Welcome to PC Delight!
I’m an Electronics Engineer by profession with a passion for Gaming & PC builds. When I came up with the idea for PC Delight, it was my goal to share & offer the very best PC building ideas to tech-loving people like myself.
Since my school days, I’ve been just addicted to gaming & PCs. That leads me to experiment with various ways around the very niche, resulting in great productivity. And I’m here to share those practical experiences. So that next time you start some experiment with your PC builds or struggle to cope with a certain game, I’m here with the solutions. With these philosophies, I started my journey in 2017 and just kept going.