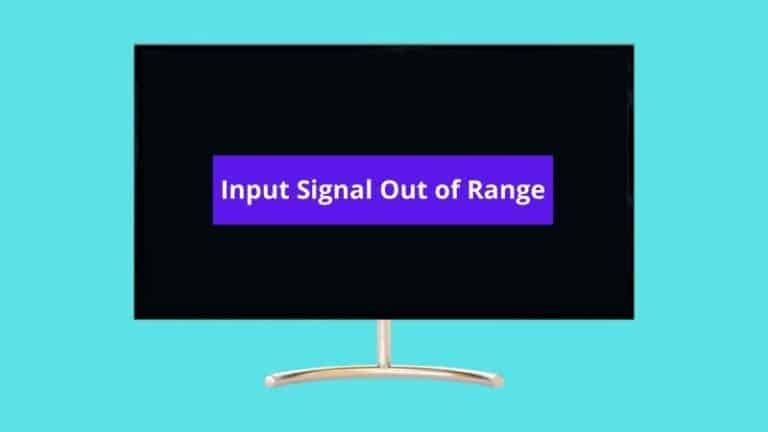
The dreaded monitor “input signal out of range” prompt can show up out of the blue, but there is always a reason for it. Sometimes, updating to windows 10 will adjust your resolution, sending your heart racing the first time you encounter this problem.
It happens when your refresh rate and monitor are incompatible. In this article, I will talk about how to fix the input signal out of range issue. So, let’s dive in.
How To Fix Monitor Input Signal Out of Range Issue
If your monitor displays the “input signal out of range” prompt, you can solve this problem by switching to safe mode and uninstalling your graphics driver.
If the graphics card sends a higher frequency, it may overpower your monitor’s ability to refresh it, and you will get the “input signal out of range” error.
The prompt may also be displayed on your monitor when sleep mode is activated, or there is a disconnection in the video signal. Whatever the case, you want a straightforward, effective, and fast solution.
There are many causes of a monitor’s “input signal out of range” problem. These include:
- Incompatible computer resolution.
- A faulty graphics driver.
- A faulty video card.
- A faulty monitor.
- An old graphics card that is incompatible with a new monitor.
You must manually restart your computer to set it to safe mode if that does not work. In safe mode, the system will automatically function at a lower resolution.
To fix the monitor input signal out of range problem, try the following:
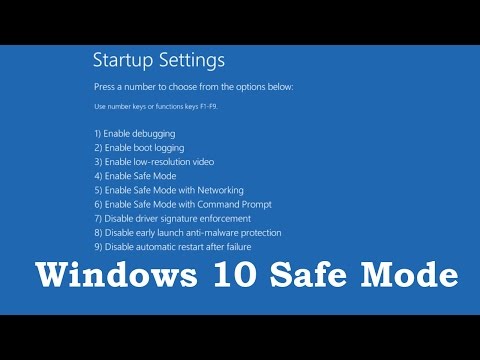
1. Set your PC to safe mode
Safe mode can help you run programs faster on your PC. But you will not need it if you have two monitors plugged in, and only one is acting up.
To activate the safe mode, follow these steps:
- Wait until the light indicating hard drive activity goes off.
- Press the power button until your system shuts down. Then, press the power button again two to three times to restart it.
- While the processing symbol is still rotating across your screen, press the power button one more time. It will display preparing automatic repair first and diagnosing your PC next.
- Automatic repair will pop up on the screen; choose advanced options.
- Troubleshoot, and choose advanced options again.
- Locate startup settings and click restart.
- From the list of options, choose #4 or hit F4 on your keyboard.
Here is another way to restart your computer in safe mode:
- Long-press the power button to restart the computer.
- While the processing symbol loads, long-press F8 until you see the Startup menu.
- Choose #3, and your computer will restart in safe mode.
- Right-click This PC or Desktop.
- Go to properties and locate Settings.
- Under Multiple displays, find Advanced display settings, and click Adapter.
- Look below for the Refresh rate list and choose Adapter Default.
- Keep the changes and restart your computer.
Here is a video on how to go to the safe mode on your computer.
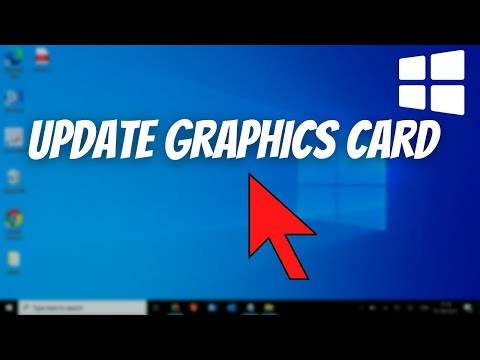
2. Update the Graphics Driver
After restarting your computer, change the resolution by going to the settings or control panel.
- You can use Windows+I to open settings.
- Locate device manager and expand display adapters.
- Your device driver will show in the drop-down box; right-click to display your options.
- Uninstall the device by clicking the tab “delete the driver software for this device.”
- Restart your computer, and Windows will automatically install a compatible graphics driver.
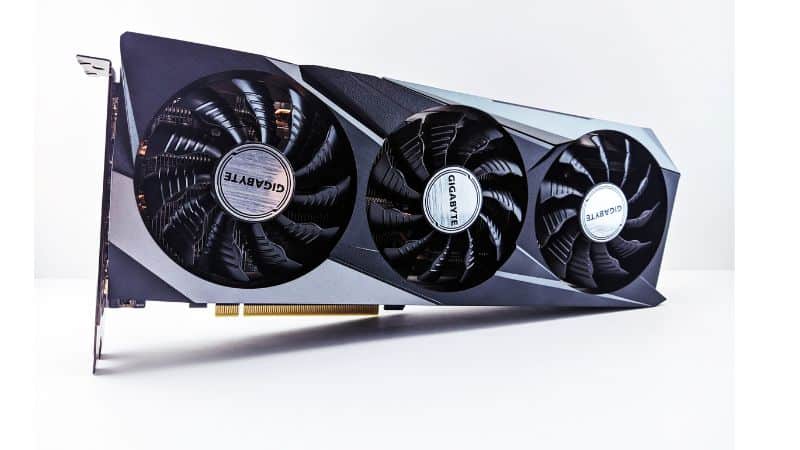
3. Install a New Driver for Your Video Card
The video card Windows installs may not meet your gaming needs.
Downloading and installing a better version is easy once you have identified your processor’s model number. Right-click on This PC, then go to Properties and find the Processor information.
You also need to know your system type.
- Go to Google and type in the processor model number.
- Click on the link with the Intel domain, and you will see many options for a monitor.
- You can filter the results by choosing your operating system.
- Choose the latest version and download the .zip or .exe file.
- After downloading it, go to the folder on your desktop and start the installation process.
There are many options for a monitor, but Nvidia GeForce Graphic Driver is even better for gamers.
What’s more, even when you install a new graphics card, you may need to tweak the settings to align with your system’s resolution. This is especially important if you have a smaller PC.
Here is a video on how to install a graphics card driver on your PC.
4. Extend the Displays If More Than One Computer is Connected
If you have tried everything but the issue persists, it may be because you have two monitors connected and have not tweaked the necessary settings.
Connecting two monitors to your computer has its many perks, but a problem like the “out of range” input signal may pop up if you do not adjust the compatibility.
Only one monitor will display the video resolution as it should be naturally. So, follow these steps for a solution:
- Right-click on the desktop and go to Display Settings.
- Find the tab that reads “multiple displays” and set it to Only show on Monitor 1. Keep the changes.
- Return to multiple displays set it to Only show on Monitor 2, and keep the changes.
- Click the multiple displays tab once more, Extend the displays, and keep the changes.
5. Monitor Input Signal Out of Range When Connecting a Gaming Console
Gaming with a small laptop can be an annoying experience. If you are not experiencing screen or graphical glitches, there will be an online lag or one other problem.
But thanks to game launchers like Steam and Origin, you can adjust your code resolution before launching your game to solve the former problem.
For Steam, you will need to install the app, create an account, and add your games to Library.
This ensures you always have the proper video resolution and will not have to go through the abovementioned steps.
But if your monitor still displays the out-of-range prompt when you connect a gaming console, consider replacing the cable.
6. Check The Video Card
Have you tried everything on the list, but the problem still won’t go away?
It may be a hardware malfunction, particularly a problem with the video card. In that case, you can use another monitor to confirm.
Connect your CPU to another display. If it works, it means there is a problem with your monitor.
You will know if the problem lies with your video card if you plug your monitor into another CPU, and it does not show the input not found error. This means you need to upgrade your video card.
But first, check that there is no loose connection between the graphics card and computer.
Another option is to replace your graphics card with another one. You need a new graphics card if you can no longer see the “input out of range” prompt and your system is just blank.
But even then, you must ensure compatibility between the new graphics card and your monitor.
7. Check the Connector Cables
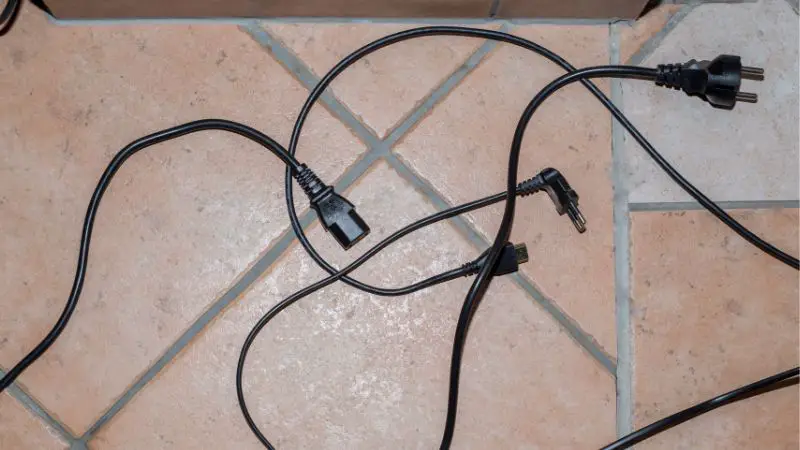
A shaky connection between your computer and graphics card can also cause the error prompt. Check the video cable before to see if it needs replacement or repair by connecting with another HDMI, DVI-D, or VGA cable.
Conclusion
The monitor “input signal out of range” is a problem that you can solve on your own in most cases.
The monitor’s resolution can be manually set to one recommended for your system and you can do it from safe mode.
Make sure to follow all the steps mentioned in this article to fix this issue. But if the problem persists, it is best to avoid opening your system if you have no experience with computers.
Reach for a technician instead.
When you try any or all these hacks, and they work for you, don’t forget to let us know your experience in the comments below.

Hello Good People! This is Pavel and Welcome to PC Delight!
I’m an Electronics Engineer by profession with a passion for Gaming & PC builds. When I came up with the idea for PC Delight, it was my goal to share & offer the very best PC building ideas to tech-loving people like myself.
Since my school days, I’ve been just addicted to gaming & PCs. That leads me to experiment with various ways around the very niche, resulting in great productivity. And I’m here to share those practical experiences. So that next time you start some experiment with your PC builds or struggle to cope with a certain game, I’m here with the solutions. With these philosophies, I started my journey in 2017 and just kept going.